Complete Guide to Mount Teide: Everything You Need to Know
Your complete guide to visiting Mount Teide in Tenerife. Cable car tickets, hiking permits, best times to visit and insider tips from locals.
Quick Budget Guide
See breakdown
- Cable car return ticket (non-resident) €39.50
- Bus 342/348 return €11.00
- Parking Free
- Summit permit Free
- Guided tour with permits €43+
- Parador restaurant meal €20-30
- Fuel from south €8-12
At 3,715 metres, Mount Teide is Spain's highest peak and the centrepiece of Tenerife. Whether you're taking the cable car for sunset views or hiking to the summit crater, this guide covers everything you need to plan your visit.
There are basically three ways to do Teide: drive through the park and its viewpoints, take the cable car up, or hike and summit with a permit. This guide follows that order, from when to go and how to get there, through the cable car and permits, to free trails and packing.
# Best Times to Visit & What to Expect
Before picking a route, it helps to know when the mountain is at its friendliest.
Best Months to Visit Teide for Weather
April-May and September-October offer the sweet spot for Teide visits: moderate temperatures without the summer crowds or winter chill. You'll get comfortable conditions for hiking and clear skies for photos, plus the cable car runs reliably during these shoulder months.
Summer brings surprisingly mild conditions at the summit, with maximum temperatures averaging just 18°C even in July-September. Don't let that fool you though. It's still intense sun at 3,500 metres, and the contrast with the coast can be shocking.
Daily Temperature Swings at Teide
Here's what catches most visitors off guard: daily temperature variations can hit 20°C between early morning and midday. That crisp sunrise you're planning? It could be near freezing, whilst by noon you're peeling off layers. The mountain creates its own weather system, and you'll feel every degree of it.
Winter (January-February) brings occasional snow about 10 days per year. When it happens, the cable car often closes, so have backup plans if you're visiting during these months.
Best Time of Day to Beat the Crowds
Get there before 10:00 if you want the popular viewpoints to yourself. The cable car is absolutely mental between 11:00-15:00, particularly in summer when everyone's escaping the beach heat. Early morning and late afternoon runs are much quieter: you'll actually be able to move around the upper station.
For sunrise photography, plan to arrive 20-30 minutes before sunrise time. The light changes fast up there, and you'll want to be positioned before the show starts.
Sea of Clouds, UV and Seasonal Weather Patterns
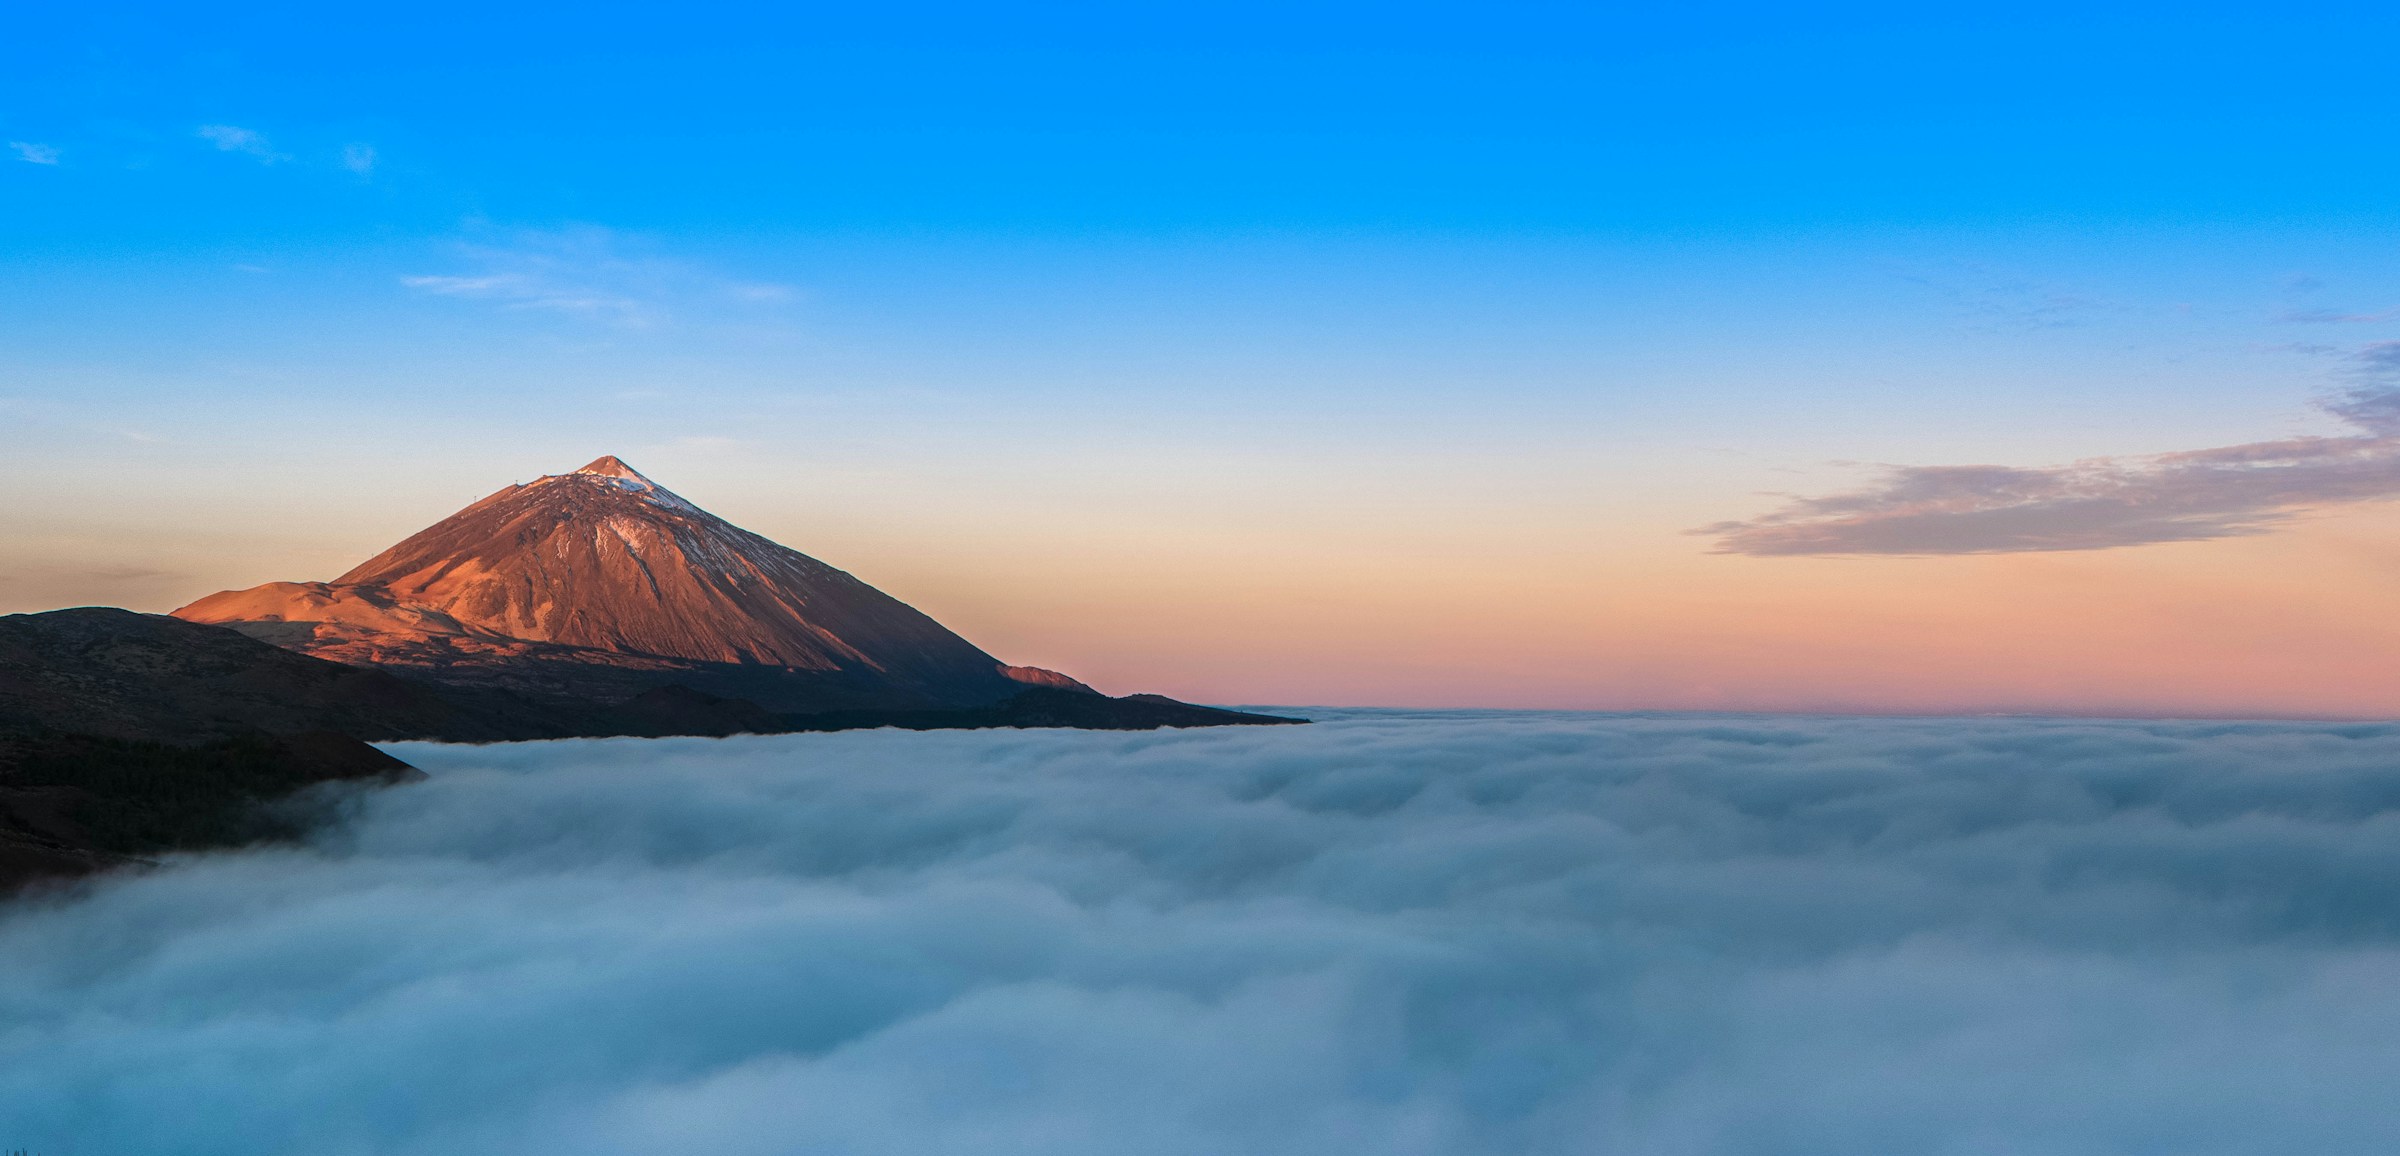
The famous sea of clouds phenomenon is best viewed during autumn and winter mornings. The trade winds create a moisture layer between 800-1600 metres, which means clearer skies above, perfect for those dramatic shots of clouds pooling below the summit.
UV radiation stays intense year-round due to the altitude and thin air. Even on overcast days, you're getting hit harder than you'd expect. The sun feels different at this elevation: more direct, more immediate.
Spring and autumn also dodge the peak tourist seasons, so you'll find accommodation easier to book and generally less chaos getting around the island.
# Getting There: By Car, Bus & Tour
Once you know when to go, the next job is working out how to reach the park.
Getting to Mount Teide by Car: Routes & Timing
Driving gives you the most flexibility for exploring Teide National Park. From the south (Costa Adeje area), it's 1 hour 15 minutes via the TF-21 road, the main route that winds up through the volcanic landscape. From the north (Puerto de la Cruz), you're looking at just 45 minutes on the same TF-21.
The TF-21 is well-maintained but expect plenty of hairpin bends and altitude changes. You'll notice the temperature dropping significantly as you climb from sea level to over 2,000 metres.
Parking at Teide: Arrive Early or Park Further Out
All parking in Teide National Park is free, but the cable car car park is the issue. With just 220 spaces, it fills up fast: arrive before 09:00 if you want to park right at the base station.
Missed the early slot? You'll need to park along the TF-21 road and walk to the cable car. It's not ideal but perfectly doable.
Bus Routes 342 & 348
TITSA runs two bus routes to Teide, but here's the catch: check titsa.com for the current operating days, as TITSA's timetable pages currently list both lines as running every day.
Bus 348 runs from Puerto de la Cruz to Parador del Teide, departing 09:30 and arriving 11:06. The return service leaves the Parador at 16:00 for an 86-minute journey back.
Bus 342 covers the southern route from Costa Adeje to El Teide, departing 09:25 and taking 124 minutes to reach the park (arriving 11:29). The return departure is earlier at 15:15.
Return tickets cost around €11, payable on board or with travel cards. Check titsa.com for the current single and return fares on each line.
Guided Tours with Transport
If the limited bus schedule doesn't work or you prefer guided commentary, numerous operators run coach tours from all major resorts. These typically include transport, a guide and sometimes stargazing add-ons. Most tours follow similar timing to the buses (morning departure, afternoon return) but offer more flexibility with pickup points.
# Cable Car: Tickets, Prices & Times
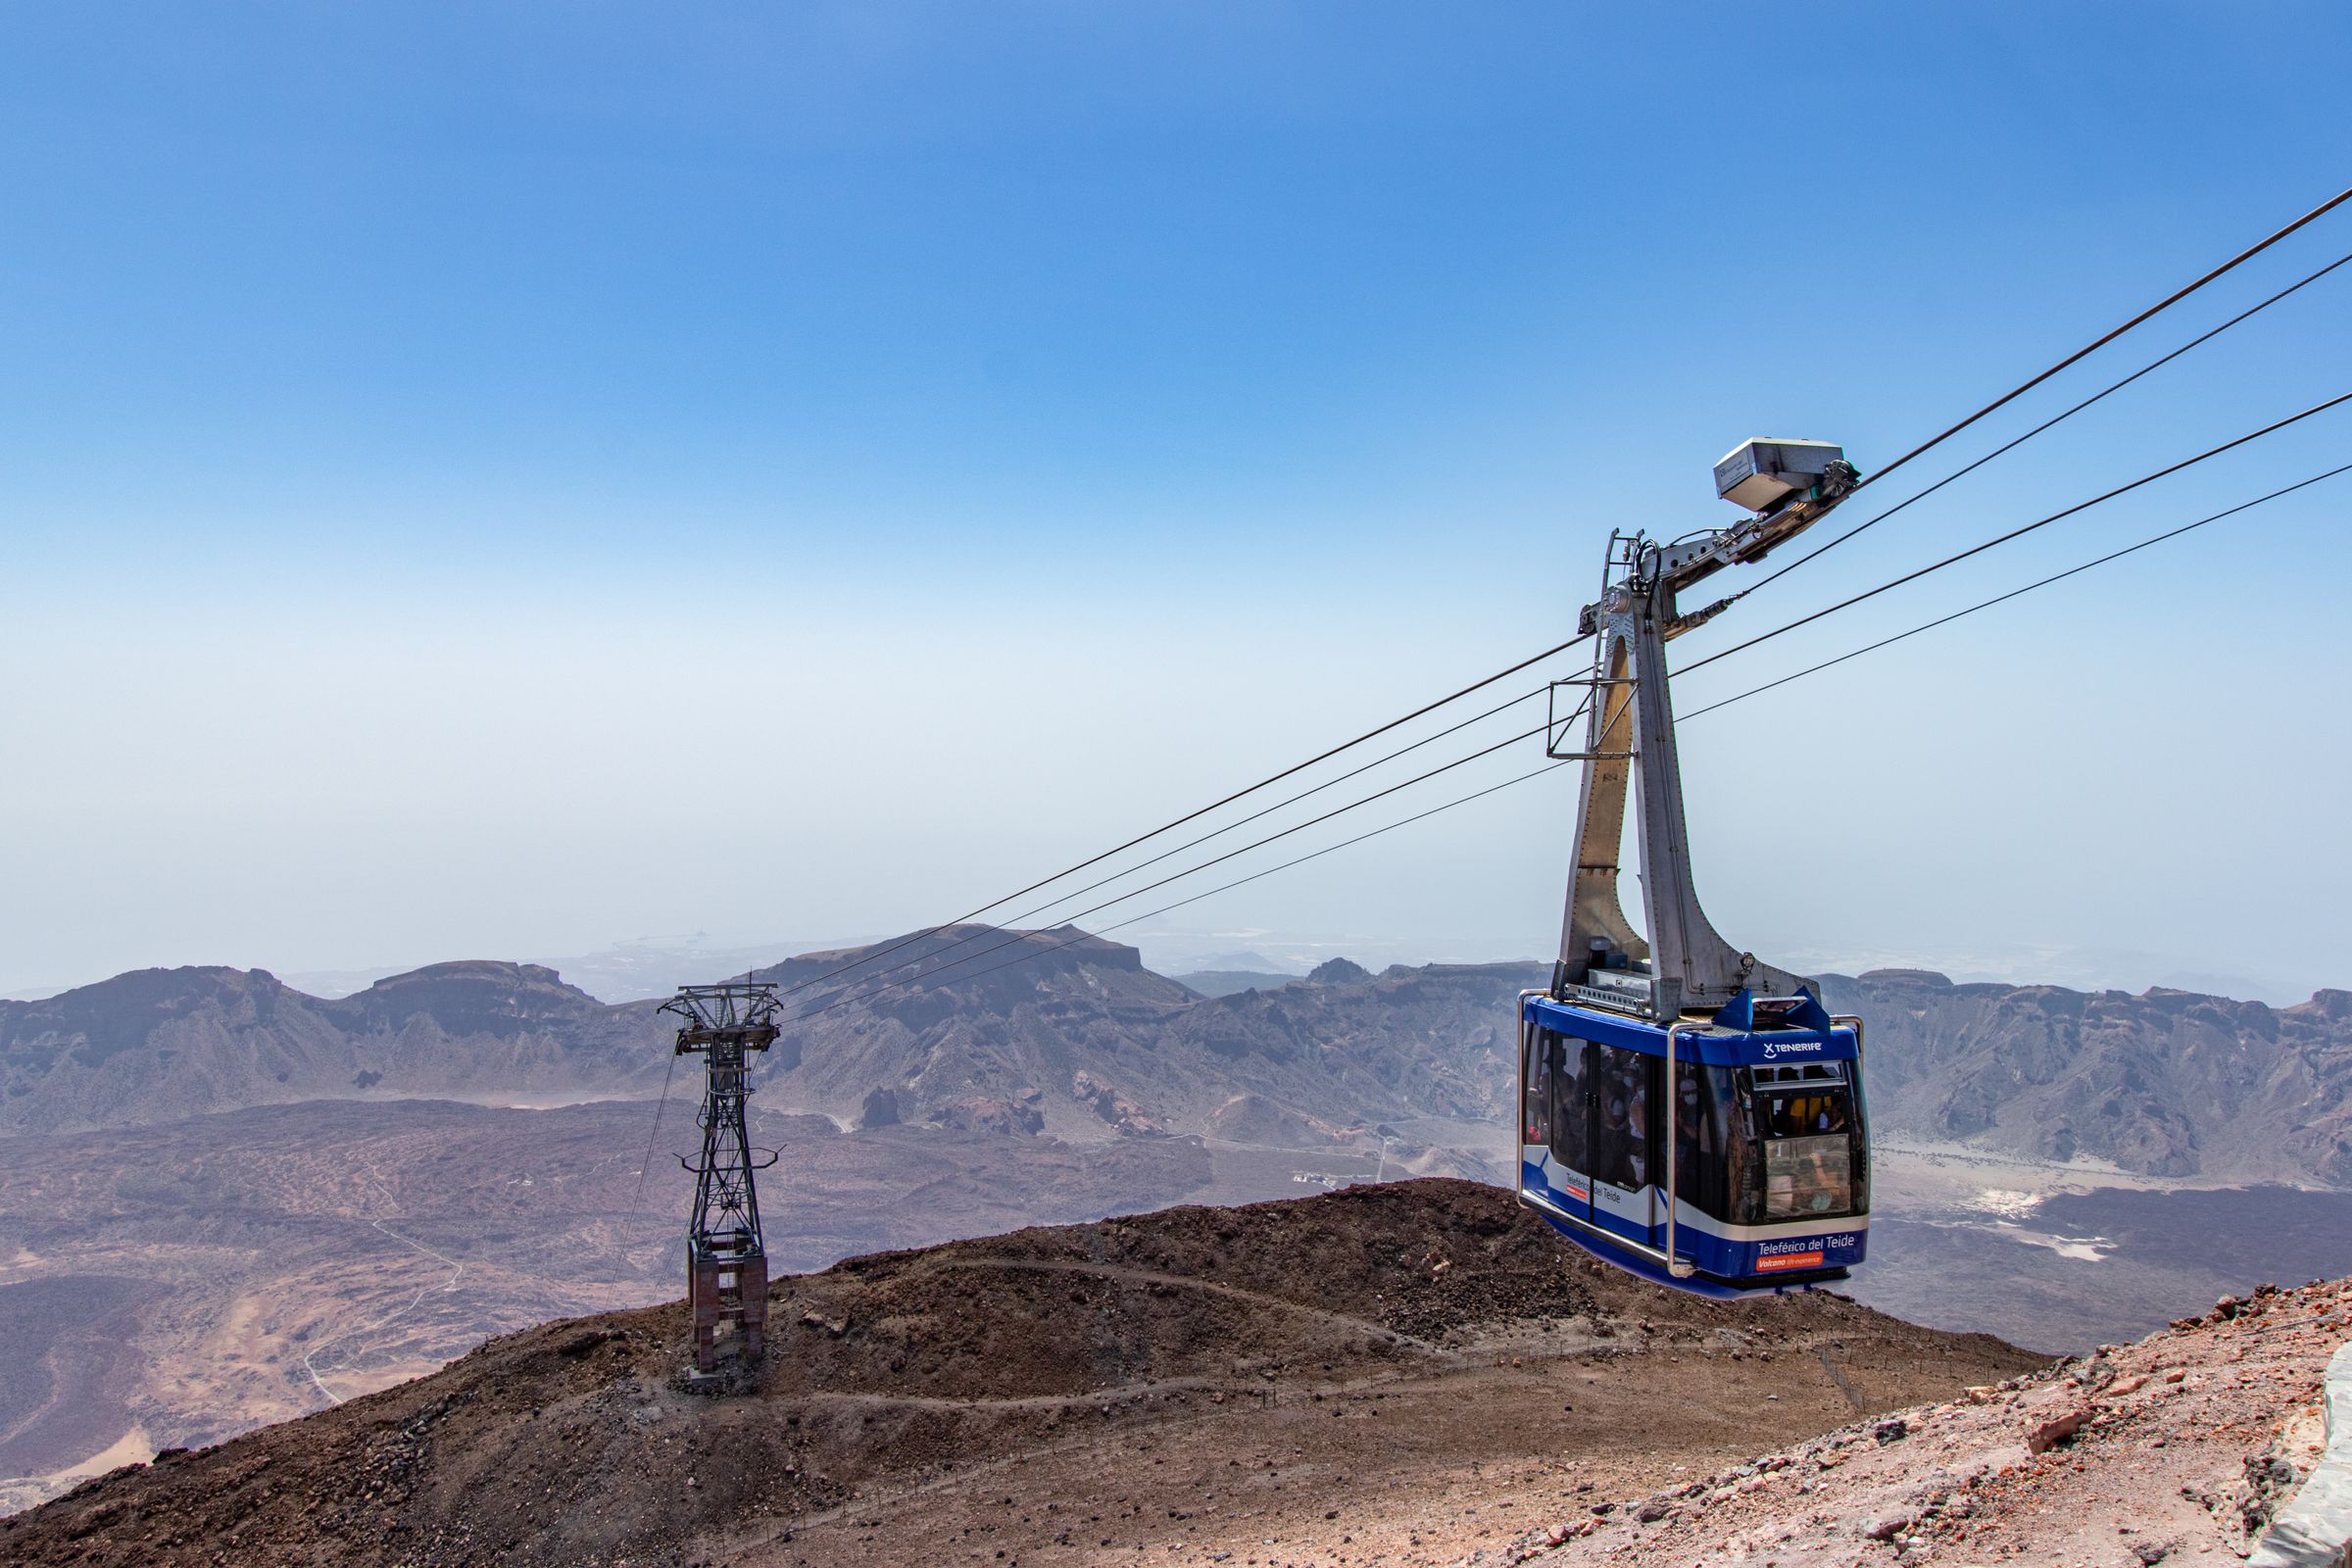
From the park's base, the cable car is the fastest way onto the high ground.
Cable Car Ticket Prices 2026
Return tickets cost €43.00 for non-resident adults and €21.50 for children aged 3-13 (as of November 2026). If you're a Canarian resident, you'll pay just €10.75 for adults and €5.38 for children: bring your residencia or DNI as proof.
One-way tickets are available at €24.00 for non-resident adults and €12.00 for children, though most people opt for the return since you're only allowed 1 hour at the upper station without a summit permit. Resident one-way tickets cost €6.00 for adults and €3.00 for children.
Tickets are valid for 1 year from purchase, so you can book ahead without worrying about exact dates.
Cable Car Opening Hours by Season
The cable car runs different hours depending on the time of year:
- 1 Jan-27 Mar: 09:00-17:00 (last ascent 16:00, last descent 16:50)
- 28 Mar-12 Apr: 09:00-18:40 (last ascent 17:40)
- 13 Apr-30 Jun: 09:00-17:00
- 1 Jul-30 Sep: 09:00-18:40 (last ascent 17:40)
- 1-13 Oct: 09:00-18:00 (last ascent 17:00)
- 14-24 Oct: 09:00-17:30 (last ascent 16:30)
- 25 Oct-31 Dec: 09:00-17:00 (last ascent 16:00)
Those last ascent times are crucial: miss them and you're not going up that day.
How to Book Cable Car Tickets Online
Head to the official volcanoteide.com website to book your tickets. You can select specific time slots, though there's some flexibility once you're there. The system will ask for passenger details and any residency discounts you're claiming.
Booking online guarantees your spot, especially important during peak summer months when demand is mental.
What's Included in Your Cable Car Ticket
Your ticket covers the 8-minute journey up 1,199 metres from the base station at 2,356m to the upper station at 3,555m altitude. Each cabin holds up to 44 passengers, though they typically limit it to 35 for comfort.
Once at the top, you can explore the upper station area within that time limit. If you want to climb to the actual summit, that requires a separate permit, covered in the permits section.
Cable Car Age & Health Restrictions
The cable car isn't suitable for everyone. Children under 3, pregnant women and anyone with heart conditions aren't allowed due to the rapid altitude change and thin air at the top.
There's also a strict footwear rule, which is covered in the what-to-pack section.
Food, Toilets & Facilities at the Stations
The base station (2,356m) is well set up: a café and buffet restaurant with views over the crater, a souvenir shop, toilets and the free car park. The upper station (3,555m) has toilets and Wi-Fi but no café, so eat and fill your bottle before you ride up (as of November 2026).
# When the Cable Car is Closed: Refunds & Alternatives
Even the best-planned cable car trip can fall foul of the wind, so it pays to have a fallback.
Cable Car Weather Closures: Wind Limits & Timing
The cable car shuts down without warning when winds become too strong (the exact limit is set by the operator), and up at 3,500 metres, that happens more often than you'd expect. You won't know until the morning of your visit, as closure announcements typically come between 08:00-09:00 after the daily safety tests.
This isn't just winter drama either. Strong winds can roll in any time of year, especially during the trade wind season. The only guaranteed closure is 25 December annually. Weather closures are almost always temporary, usually lasting hours rather than days, so if you're staying multiple days, keep an eye on conditions: what's too windy today might be perfectly calm tomorrow.
SMS Alerts for Cable Car Closures
Here's a tip that'll save you a wasted trip: provide your mobile number when booking to get free SMS alerts about closures. They usually go out around the same time as the morning announcements, which is much better than driving up from sea level only to find the gates locked.
Cable Car Refund Policy
Free cancellation or date changes are allowed until 18:00 the day before your booked slot (as of November 2026). For weather closures on the day, you're covered: access the refund through 'Manage your booking' with no charges.
If the cable car's running but delayed 90+ minutes due to weather, you can get a full refund as long as your tickets are unused. Basically, they won't leave you out of pocket for Mother Nature's mood swings.
What to Do When the Cable Car is Closed
Don't write off the day entirely. The Teide Legend audio guide tour runs regardless of cable car status, letting you explore the lower reaches of the national park with proper commentary.
Most guided park tours have Plan B routes ready to roll when the cable car's down. You'll miss the summit views, but there's still plenty to see at the lower elevations: different volcanic formations, unique flora and dramatic landscapes that don't require altitude.
# Teide Permits Explained: Summit & Restricted Trails
Anyone wanting to go beyond the cable car's upper station needs to get to grips with Teide's permit system.
Which Teide Permit Do You Need?
The right permit depends on where you're heading:
- Final stretch to the summit (Telesforo Bravo trail): summit permit, free only for Tenerife residents and under-14s, while most non-residents pay €15.
- Montaña Blanca-La Rambleta (PNT 7): separate trail permit.
- Teide-Pico Viejo (PNT 9): separate trail permit.
- Cable car upper station trails and park walks: no permit needed, as covered in the free trails section.
How to Apply for a Teide Summit Permit Online (TenerifeON)
Head to www.tenerifeon.com (TenerifeON), which now handles Teide permits. You'll need to create an account and provide ID details for everyone in your group. The system's pretty straightforward, but it is available in English as well as Spanish.
Summit Permit Allocation & Time Slots
Only 200 permits are issued daily : 160 go to the general public and 40 are reserved for licensed guides. You'll choose from 4 daily time slots: 09:00-11:00, 11:00-13:00, 13:00-15:00 or 15:00-17:00. The trail itself is just about 0.66km with roughly 180m elevation gain, about 45-55 minutes of steady climbing from where the cable car drops you.
Summit Permit Advance Booking Requirements
Here's the kicker: you must book as soon as the booking window opens. Permits are released every Monday at 07:00, exactly 4 weeks before the date. Set your alarm and be ready to click, because popular dates (especially summer weekends) disappear within minutes.
Guided Tours with Summit Permits
Can't get a permit? Guided tours with permits start from €43 (excluding cable car tickets). These use the guides' allocation, so there's often availability when individual permits are sold out. Companies like Volcano Teide offer these tours, but you'll still need to buy cable car tickets separately.
Summit Permit Rules & ID Checks
Permits are nominal and non-transferable: they must match your ID exactly. Rangers check both your permit (printed or digital works fine) and photo ID at the trail entrance, so don't forget either. No permit means no summit, regardless of how far you've travelled.
One loophole: guests at Altavista Refuge can summit before 09:00 without permits, and the refuge reopened in July 2026 after renovation, so check its current booking conditions.
New Restricted Trail Permits: PNT 7 & PNT 9
Since 29 November 2024, permits are required for two additional major routes: PNT 7 (Montaña Blanca-La Rambleta) and PNT 9 (Teide-Pico Viejo). This is on top of the existing summit permit system, so if you're planning the full Telesforo Bravo route to the peak, that's two different permits to sort.
The new restrictions also include specific closure days: trails close during official weather warnings and can shut at short notice. Check current status before you travel, as there's nothing worse than driving up at dawn only to find your trail's off-limits.
Montaña Blanca Route (PNT 7)
This is the classic walker's route to La Rambleta, starting at roughly 2,350m elevation with about 1,200m of climbing over 5-6 hours one way. Don't let the start fool you: the first 4.5km is an easy, wide pumice track that gains only about 370m. The sting is the middle stretch, roughly 540m of climbing in 2.5km over black lava with gradients above 60% in places, before the path eases across bare malpais to the top. Nothing technical underfoot, but the altitude makes it proper hard work and the operator calls it the toughest route up. You'll need a separate permit for this trail now, even if you're not continuing to the summit.
Pico Viejo Route (PNT 9)
PNT 9 takes you to Pico Viejo, Teide's neighbouring peak and an impressive alternative to the main summit crowds. Like PNT 7, it needs an advance permit.
How to Apply for Restricted Trail Permits
Permit applications work similarly to the existing summit system: book online through the official channels well in advance, especially for peak season. These trail permits are separate from summit permits, so factor in the extra admin if you're planning multiple routes.
Teide Equipment Checks & Fines
Here's where it gets serious: rangers check your kit at trailheads and can refuse you access without proper gear. The mandatory list includes long trousers, fleece jacket (even in summer), mountain boots, thermal blanket and a charged mobile phone for emergencies.
For early starts or late finishes, you'll also need a headlamp with spare batteries. Pack high-energy food and extra water: altitude accelerates dehydration more than most people expect.
Don't gamble with this. Fines reach €600 for inadequate equipment, and if you need rescuing, costs can hit €12,000. Up high, weather changes fast and hypothermia is a real risk, even when it's roasting down in the resorts.
# Hiking Without Permits: Free Trails & Viewpoints
If permits sound like too much admin, plenty of Teide's best scenery needs none.
Cable Car Upper Station Free Trails
Once you're up at the cable car station, you’ve got two brilliant trails (check tenerifeon.com for current permit rules first). Trail 11 to La Fortaleza viewpoint gives you proper views across northern Tenerife: it's the kind of panorama that makes the cable car fee worth it alone. Trail 12 to Pico Viejo viewpoint is the real winner though: a 751m trail taking about 30 minutes that gets you face-to-face with an 800m crater. Both are accessible to most fitness levels and infinitely better than just hanging around the cable car station.
Roques de García Loop: The Family Favourite
The Roques de García circular trail is probably your best bet for a proper walk without permits. At 3.5km taking about 1.5 hours, it's rated medium-low difficulty and genuinely family-friendly. You'll pass the iconic Roque Cinchado, the 'finger of God' formation that used to be on the old 1000 peseta notes. Most people find this loop manageable, and the rock formations are mental up close.
Best Viewpoints You Can Drive To
La Ruleta viewpoint is the most photographed spot in the park for good reason: direct Teide views and you can literally drive right up to it. The park has 26 official viewpoints accessible by car or short walks, so you're spoilt for choice.
Llano de Ucanca offers the largest volcanic plain in the park and is brilliant for sunset views. Tabonal Negro viewpoint (accessible via the TF-21) shows off recent lava flows with contrasting vegetation, proper dramatic stuff.
Easy Family Walks & Free Guided Routes
El Portillo Botanical Garden has short trails winding through endemic species. It's educational, peaceful and perfect when you want something gentler than the main hiking routes.
If you fancy a guided experience, the National Park office offers free routes: call 922 922 371 for their Roque del Peral route (2 hours) or La Fortaleza route (3.5 hours).
Trail Difficulty Reality Check
Don't underestimate the altitude: you're well up the mountain on most of these walks. Even the 'easy' trails can leave you breathless if you're not used to it. The medium-low rated Roques de García loop is genuinely accessible to families, whilst the cable car station trails require a bit more stamina but nothing extreme.
# What to Pack: Essential Gear for All Seasons
Whichever route you choose, what goes in your bag matters as much as the plan.
What to Wear at Teide in Every Season
Don't be the person shivering in flip-flops up there. It happens more than you'd think. Layering is absolutely essential regardless of when you visit. Start with a base layer, add insulation (fleece or light down) and top it with a windproof outer shell.
Winter visits require proper preparation even if you're just taking the cable car. Pack a warm coat, hat and gloves: the summit can be brutal when the wind picks up. Summer's trickier than most people expect: whilst it's 30°C down at the coast, the summit stays at the much lower maximum mentioned in the best-times section, and that's before you factor in wind chill.
Teide Footwear Requirements for Trails & Cable Car
Hiking boots with ankle support and proper grip are mandatory for any trail access. The volcanic terrain is unforgiving, and loose scree can catch you out quickly.
Even cable car visitors face restrictions: you'll need closed shoes with good grip, so no heels, sandals, flip-flops, open shoes or flat soles. The operators are strict about this, and honestly, you'll be grateful for proper footwear when you're walking around at nearly 3,600 metres.
Sun Protection at Altitude
The sun up here is no joke. Sunglasses and SPF 30+ sunscreen are mandatory: UV intensity at this altitude will fry you faster than you think. A hat is essential for both sun and wind protection, as it can get seriously windy at the summit.
Safety Kit & Water for Hikers
If you're tackling any hiking (there's more detail on trail options in the free trails section), your emergency kit should match the items rangers check for, which are listed in the permits section. Pack at least 2.5L of water per person: dehydration hits hard at altitude.
Best Backpack Size for Teide
A 20-30L backpack handles day visits perfectly, with space for water, snacks and those extra layers you'll definitely need. Keep it light but comprehensive. The weather can change quickly up there.
# Before You Go: Your Teide Checklist
Everything above, boiled down to what you actually need to do. Tick things off as you sort them.